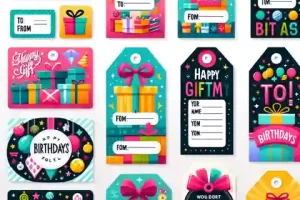
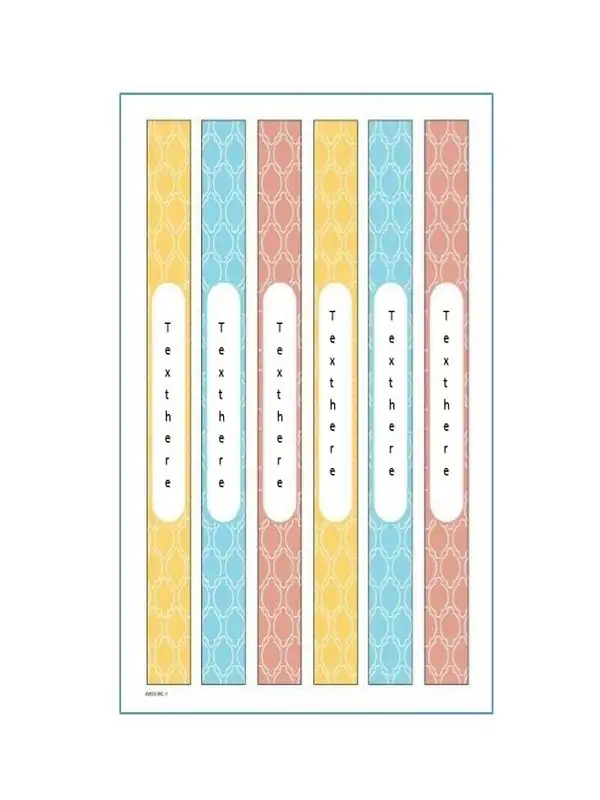
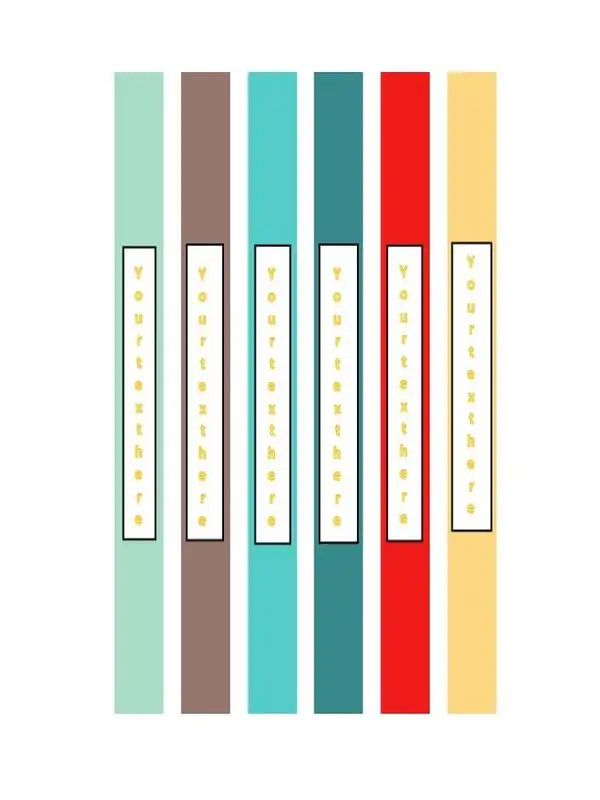
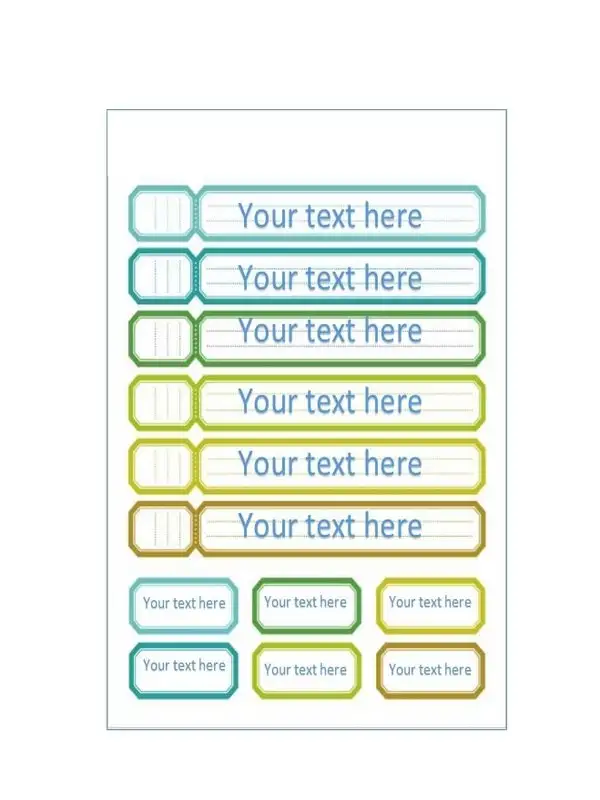
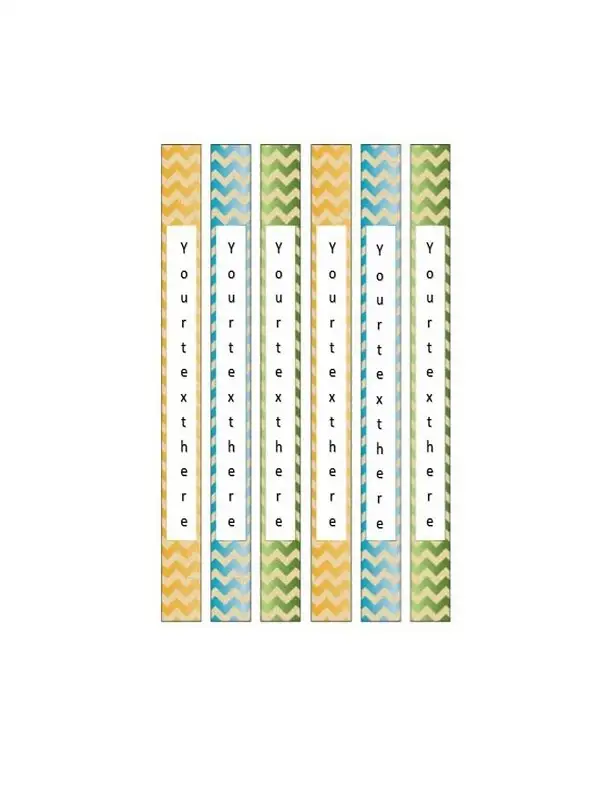
A binder spine label template is a design that helps you present material in an organized manner, and it includes all the information required to categorize and suggest your content.
Depending on the project’s needs, binder spine labels are typically made of plastic or paper. You can create them at home, but some professional designers provide these services online or through print shops.
A binder spine label template makes it easy for people to find what they are looking for because the information is presented logically. It also helps hold two or more books, binders, and other publications together.
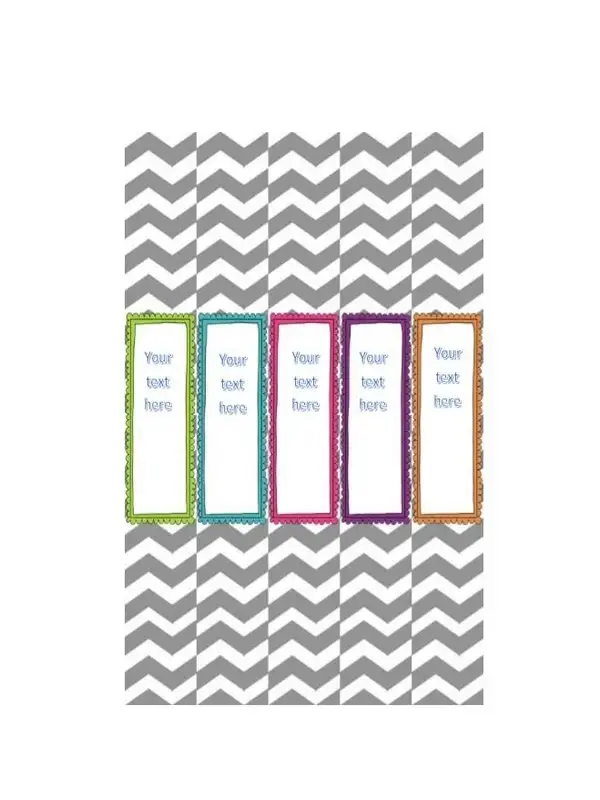
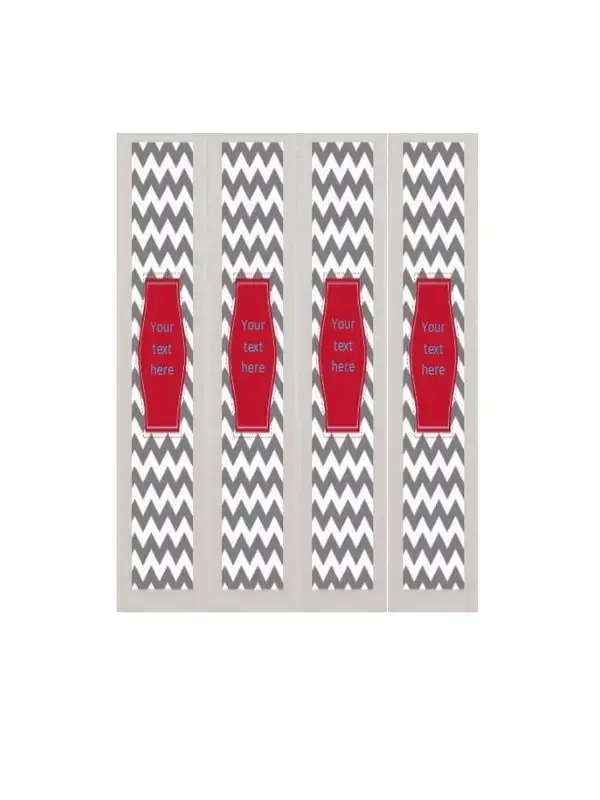
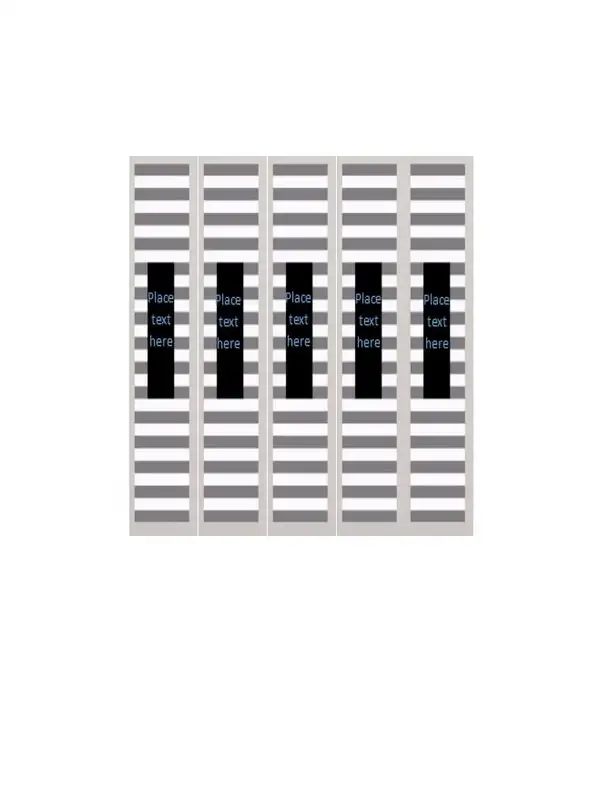
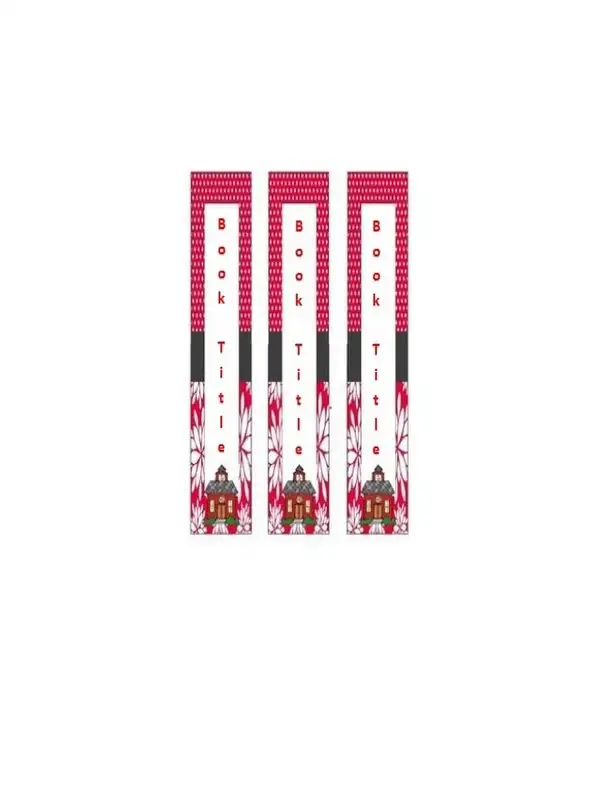
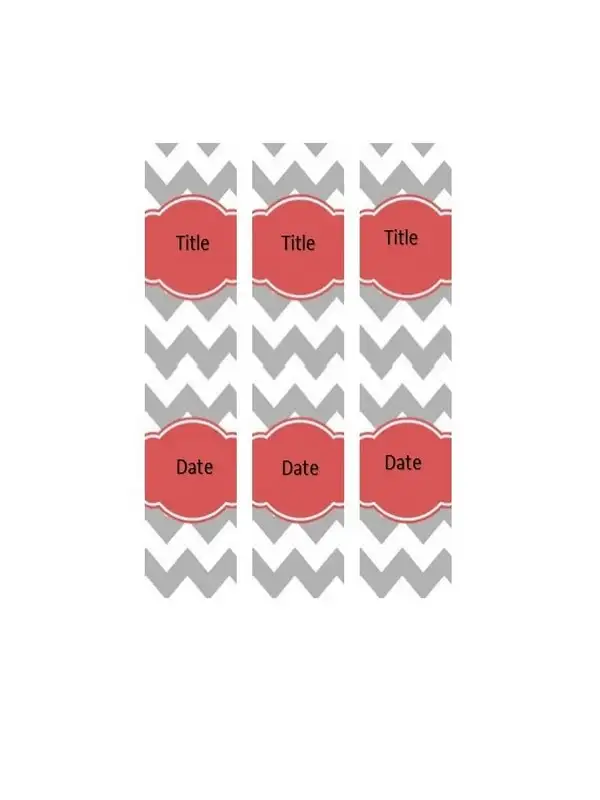
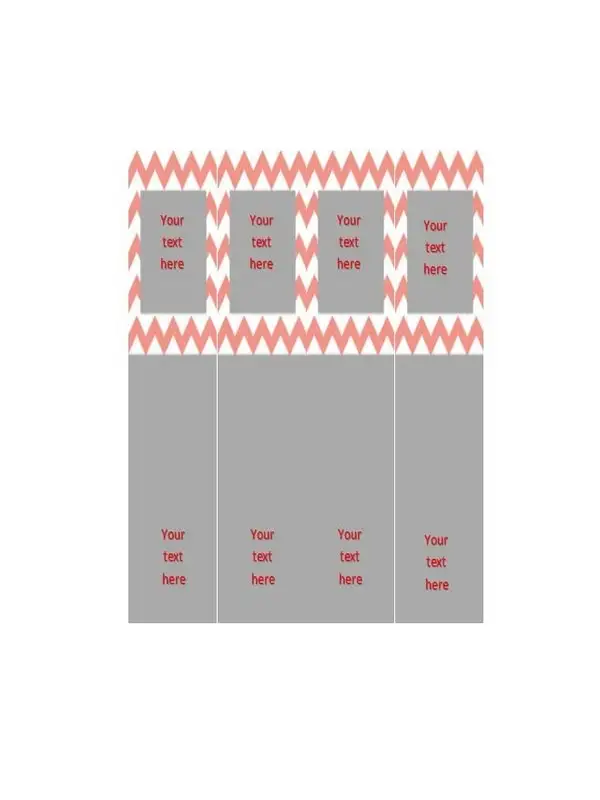
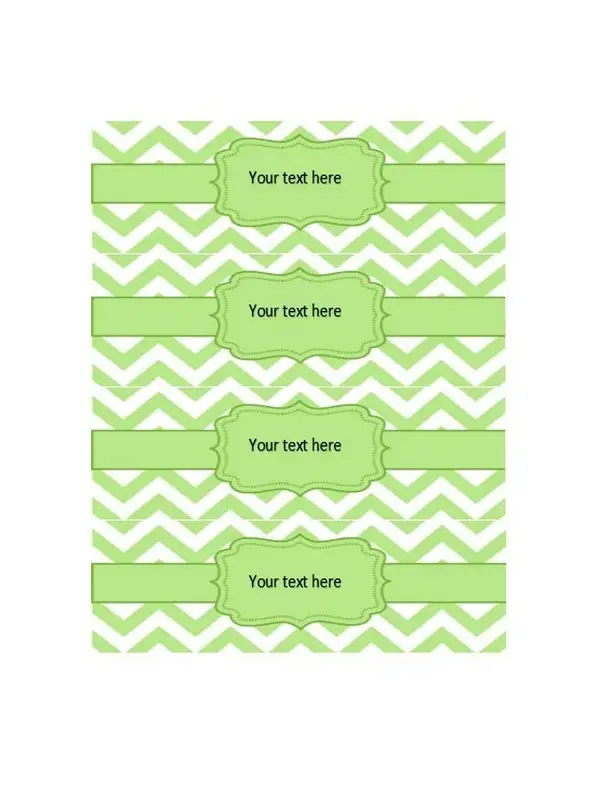
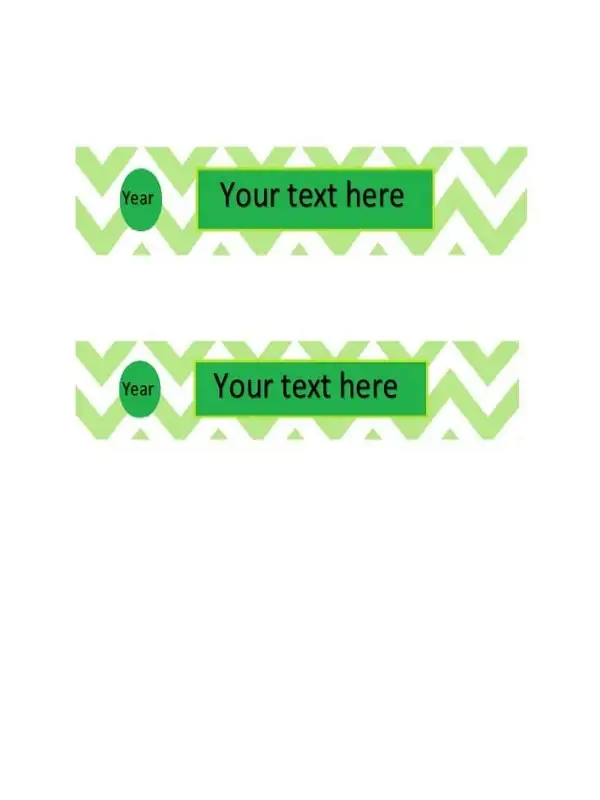
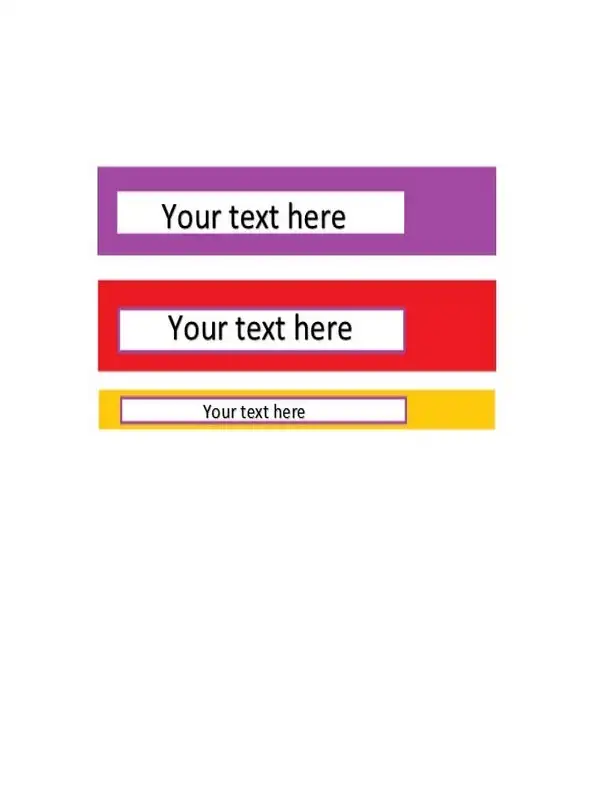
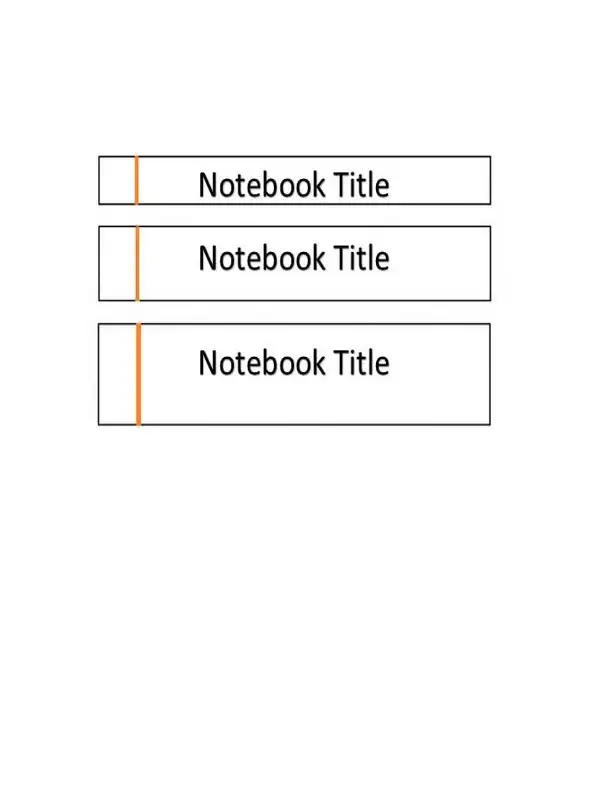
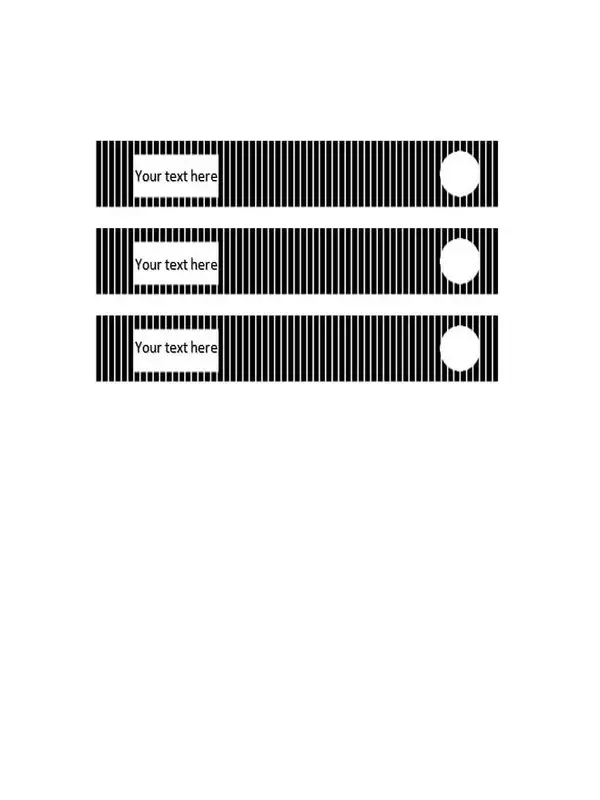
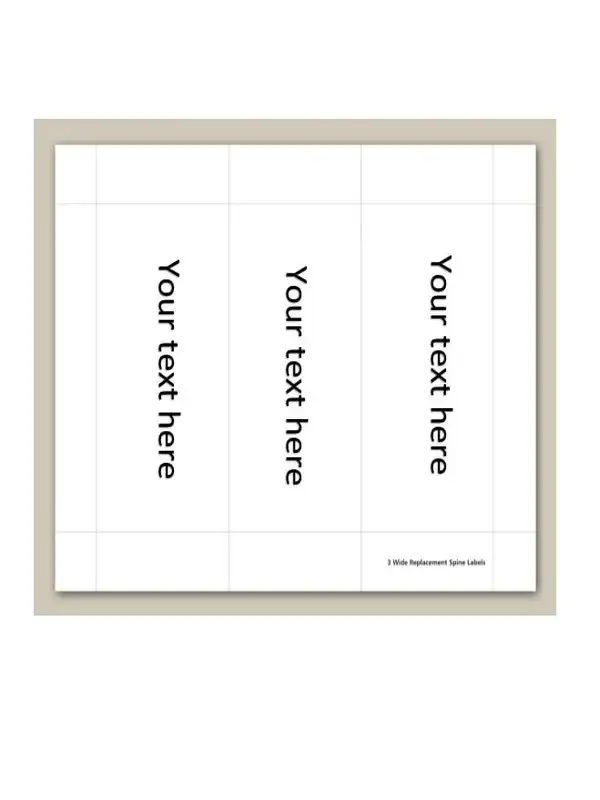
Binder Spine Label Template
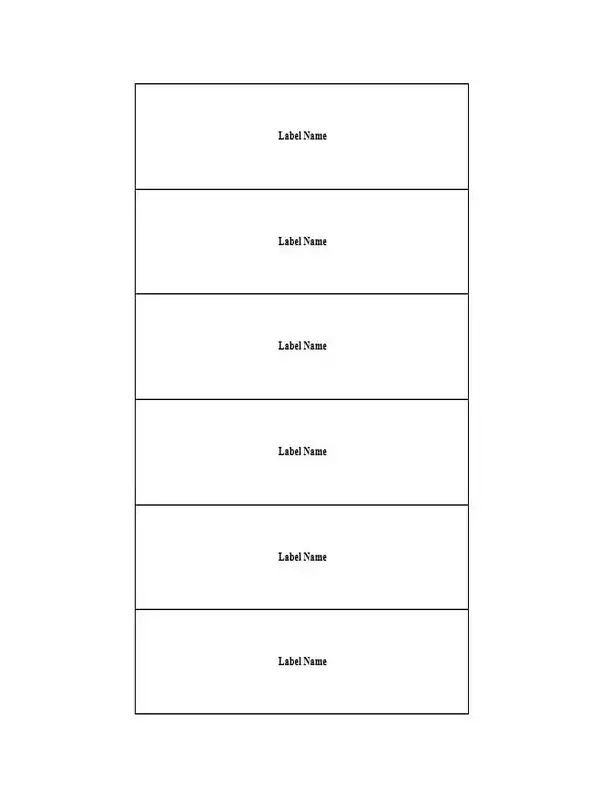
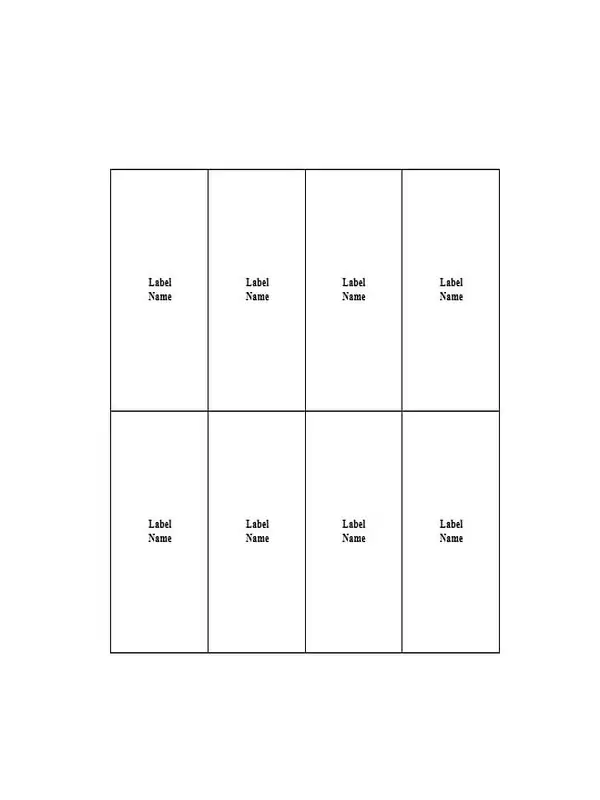
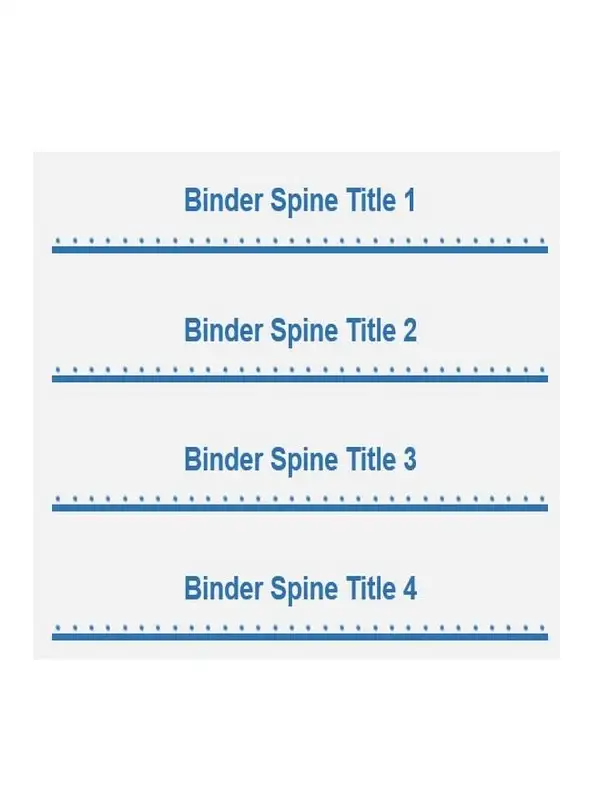

A Binder Spine Label Template lists the documents in your binder. It’s typically a list that includes all the different documents alphabetically.
The purpose of using a Binder Spine Label Template is to make it easier to find what you need. This template becomes your go-to place for document retrieval, allowing you to quickly flip through pages and put it back into your binder if required.”
A Binder Spine Label Template can also be used if you share your binders with someone else. With this template, there will be no confusion about who owns which remote or company binders.”
Benefits of using a binder spine label template
A binder spine label template can be found in Microsoft Word or Adobe InDesign. You can find the templates online to organize your binders using a spine label.
- Organizing your binders
- Easily finding binders with important information inside of them
- Binders with labels stay more organized
- Label holders are easier to read than handwritten and typed notes
- Labels are more visible than handwriting on a piece of paper
- The colors used in the labels make them easier to see
- Bespoke labels also help you organize your work. You can also use this template to make business cards, notebooks, and other items.
Requirements for creating a binder spine label template
Creating a binder spine label template requires the following requirements. The more requirements you have, the higher your chance of making a detailed and professional binder spine label template.
- A spacious paper with a good weight
- High-quality printer paper that’s suitable for laser printing
- Inkjet or laser printer compatible
- Uncoated color laser or inkjet paper that’s at least 100 gsm (grams)
- Paper size of 24 x 24cm or 18 x 18cm
- Color: black, white, gray, light gray, navy blue, royal blue, red, dark red
- Blue-lined paper (the larger, the better)
- Lamination for long life and durability
Binder spine label template word
The binder spine label is a commonly used labeling system in the publishing industry. This system makes labeling easier and indicates the type of content within a binder, such as marketing, editorial, sales, and executive activities.
The binder spine label template word is a standardized labeling system for publishers. The labels are often found on binders containing different content types, such as marketing, editorial, sales, or executive activities. The labels have been brought into this digital era with the help of bookkeepers who have developed software for publishing on digital platforms.
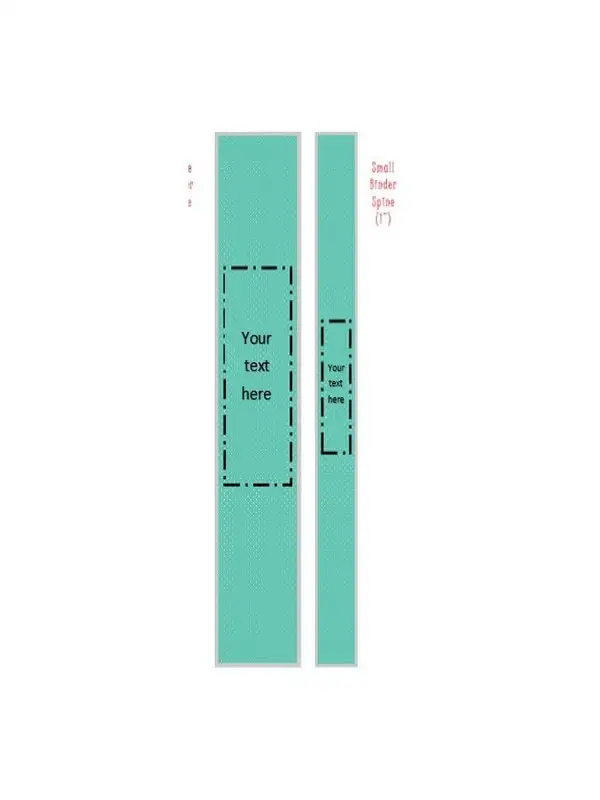
1-inch binder spine template
The 1-inch binder spine template is a trendy size for business notebooks. The thickness of the spine can be anywhere from 5/8″ to 3/4″, and the most common binding material used is wire-o.
This binder spine template can be found in many variations, but it has one consistent feature: a 1″ height at the top and bottom of the spine.
When making your business notebook, consider purchasing a blank binder, adding your cover, and creating a 1-inch binder spine template using tape or staples.
2-inch binder spine template
The 2-inch binder spine template is a type of file that contains information about the paper and the back cover. It’s commonly used in large companies where multiple departments must be kept separate.
This document will discuss the 2-inch binder spine template, how it’s essential for big corporations, and how you can use one for your company.
3-inch binder spine template
A 3-inch binder spine template is a popular, easy-to-use, and effective way for copywriters to organize and store their work.
Some of the most famous copywriters have used the 3-inch binder spine template, which is simple but effective.
A 3″ binder spine also helps organize and store your files neatly in one room or folder.
4-inch binder spine template
A 4-inch binder spine template is a paper product used to bind books or pamphlets or protect items when packaged. It is used in printing and packaging businesses as well as libraries.
The purpose of the 4-inch binder spine template is to make it easier for the item to be inserted into a package or book. The term “spine” refers to the stiff cardboard that runs along the length of a book.
The spine typically measures 4 inches high by 3 inches wide, with a thickness of 0.2 inches, but varies depending on the size and weight of what it will hold. The length may vary from 6 inches for small pamphlets to 18 inches for large items like dictionaries.
Free printable binder spines
Binder spines are the perfect way to help you organize your notes. They can be used for different purposes, like allowing you to keep track of important information in your upcoming tests, grades, or assignments.
Binder spines are free prints that can be used as a binder spine, but they also have other uses, like being a bookmark or a ring holder.
A spine book is a perfect size to hold all your essential things. It is a great way to store your notes and textbooks, making it easy for you to access them later.
A spine book is the perfect size to hold all your essential things. It can be used as both a planner and a notebook, making it easy to have everything in one place.
The free printable binder spine book helps organize your items in no time!
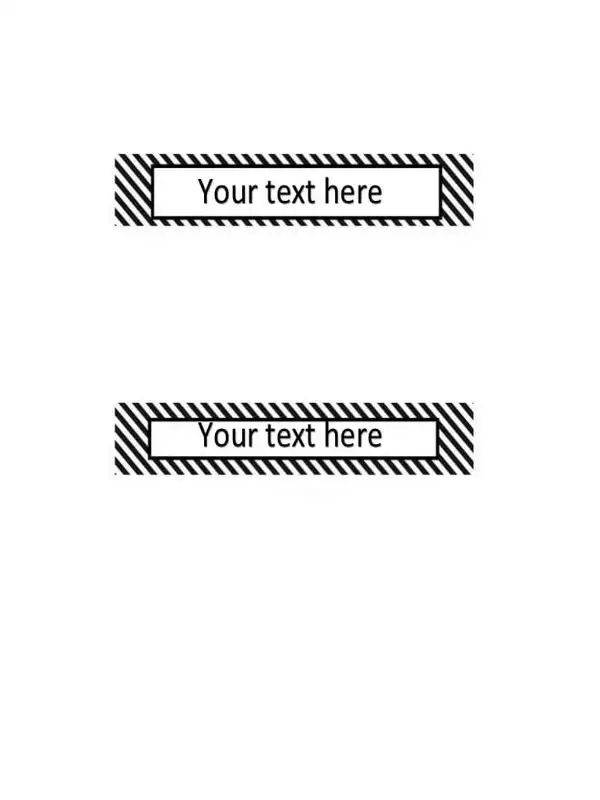
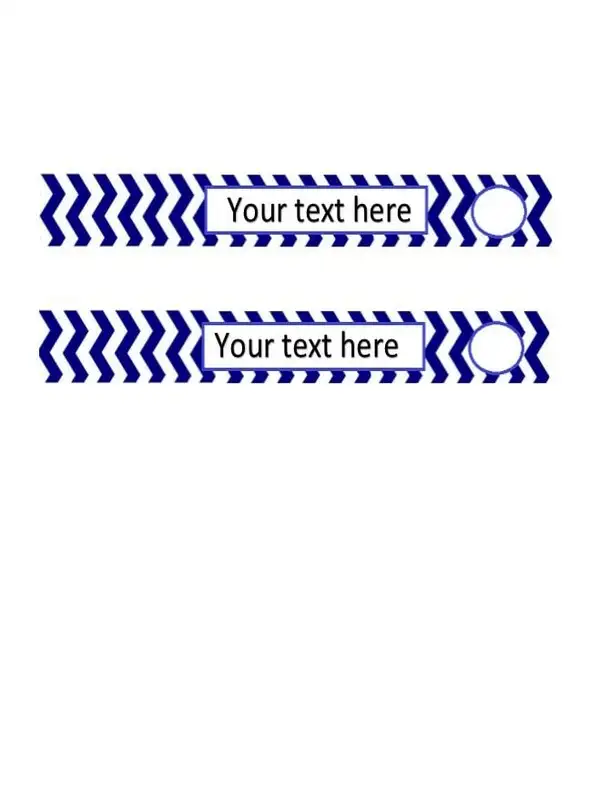
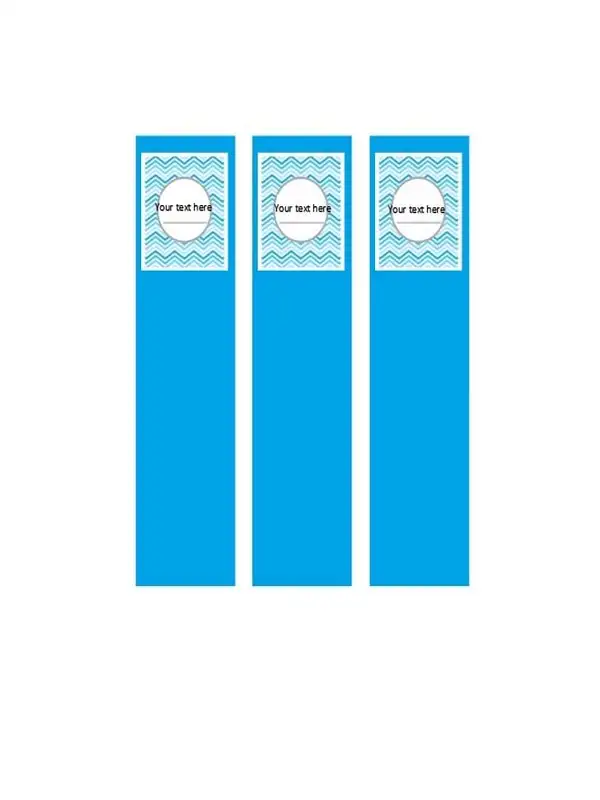
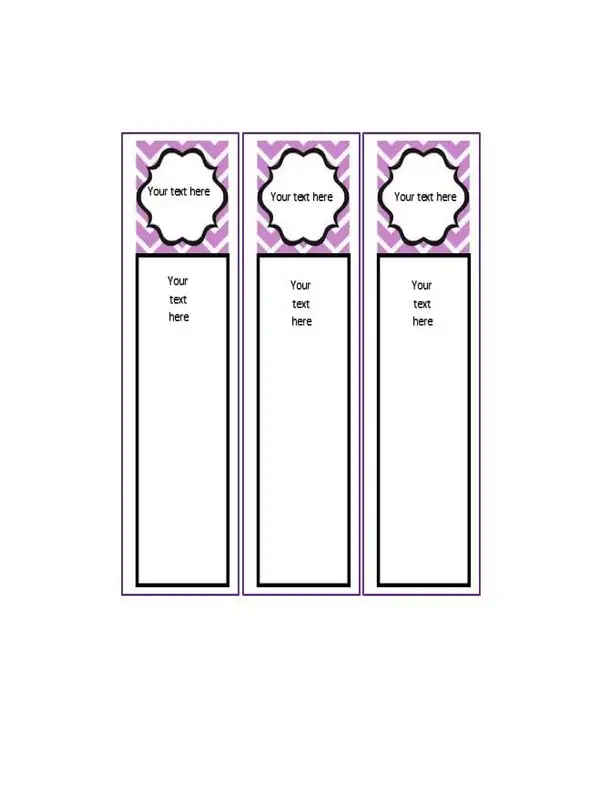
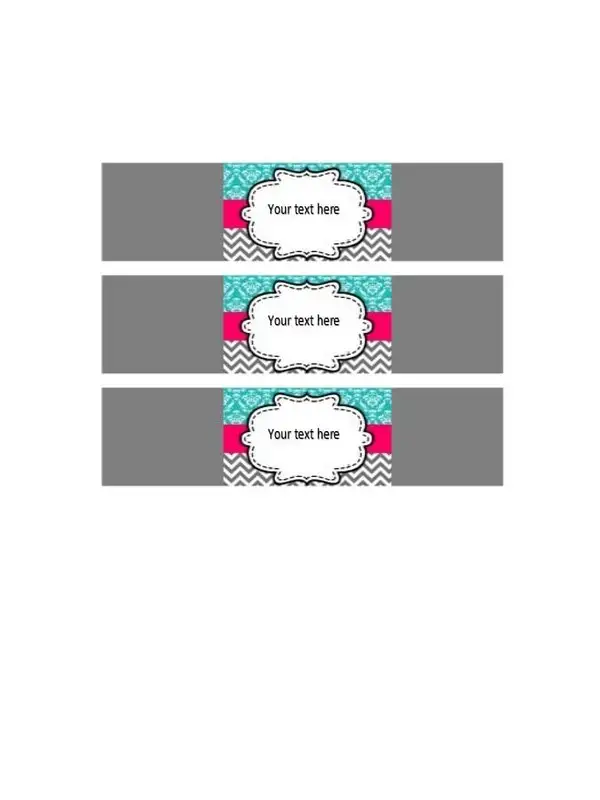
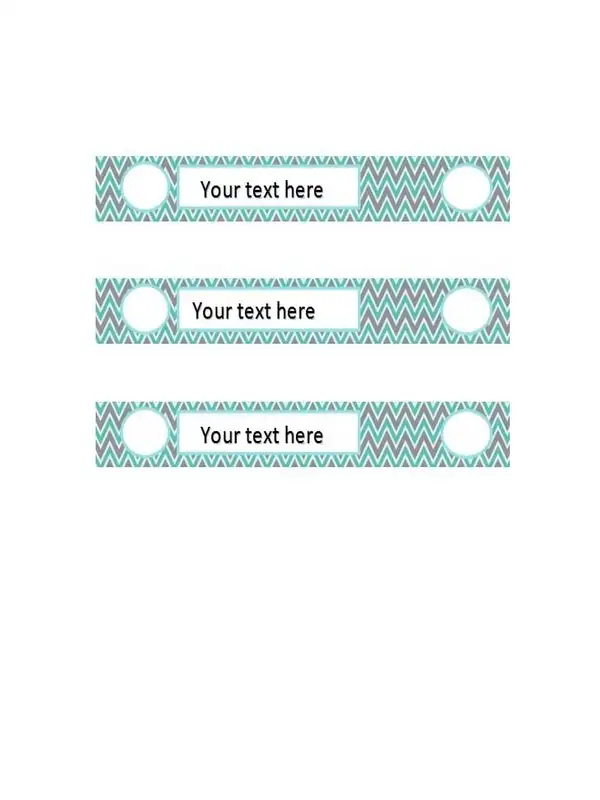
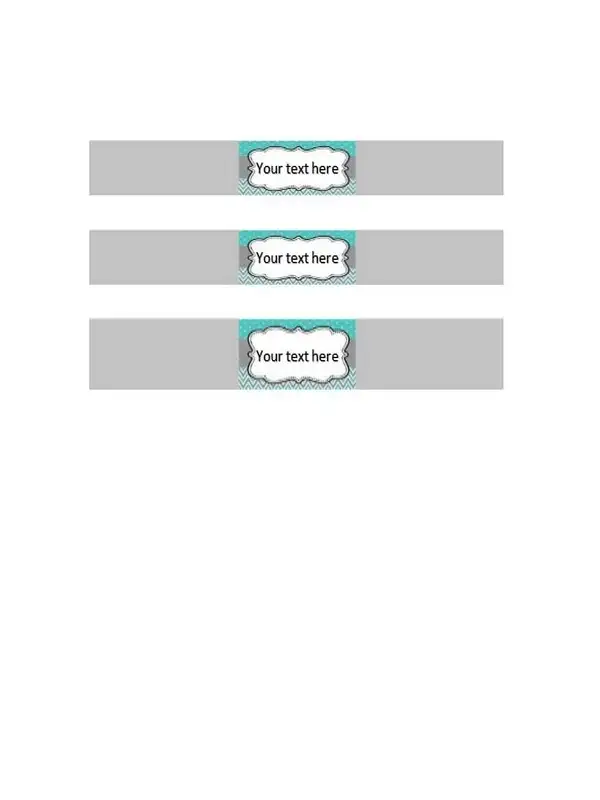
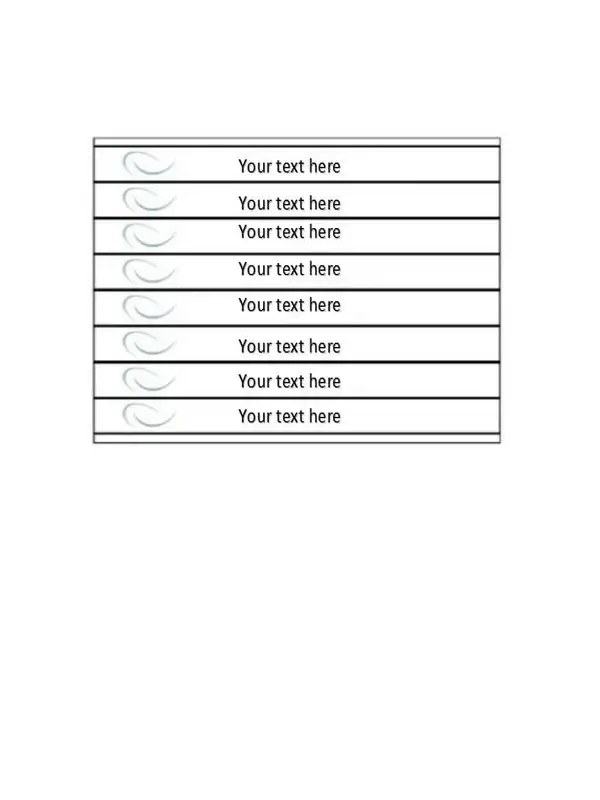
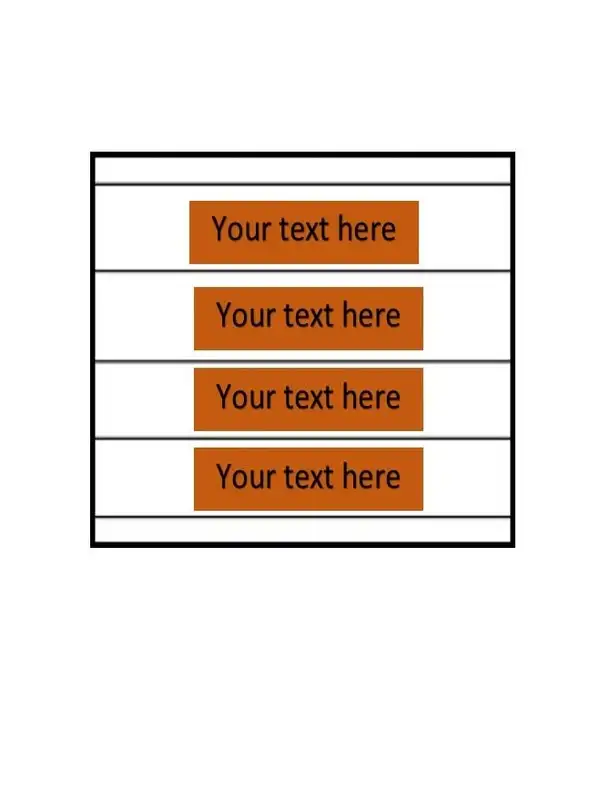
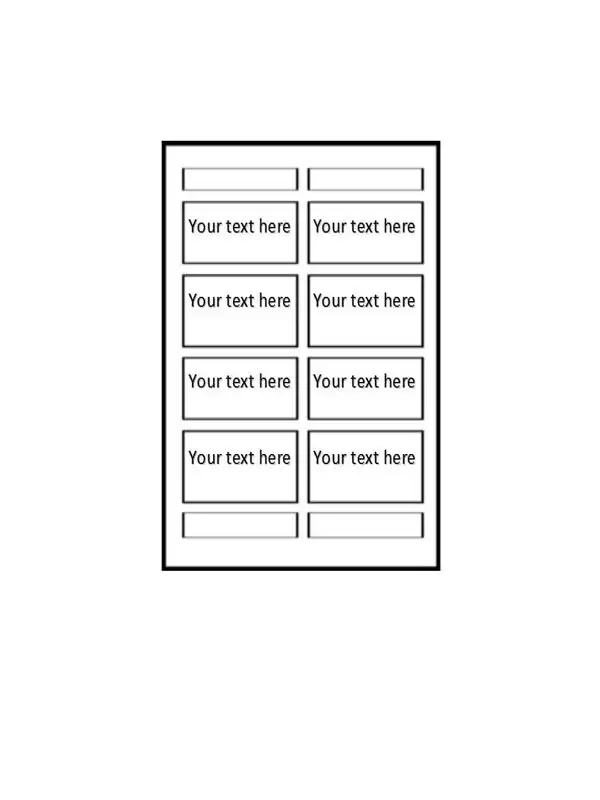
Binder spine labels printable
To make binder spine labels printable, you must first print pages from your document. The pages should be printed with the sides facing each other so that the text is aligned correctly with each page. You then cut out this page along its dotted lines to form a strip. This will leave you with two pieces of paper to create your spine label (see the image below).
To attach these two pieces into one continuous strip, fold them into quarters and then put them together by folding them in half, about an inch.
The paperclip is one of the most often used household items for centuries. It is a staple in offices and schools for holding papers together, and it can be found in homes, basements, garages, or even toolboxes.
Tips for creating a binder spine label template.
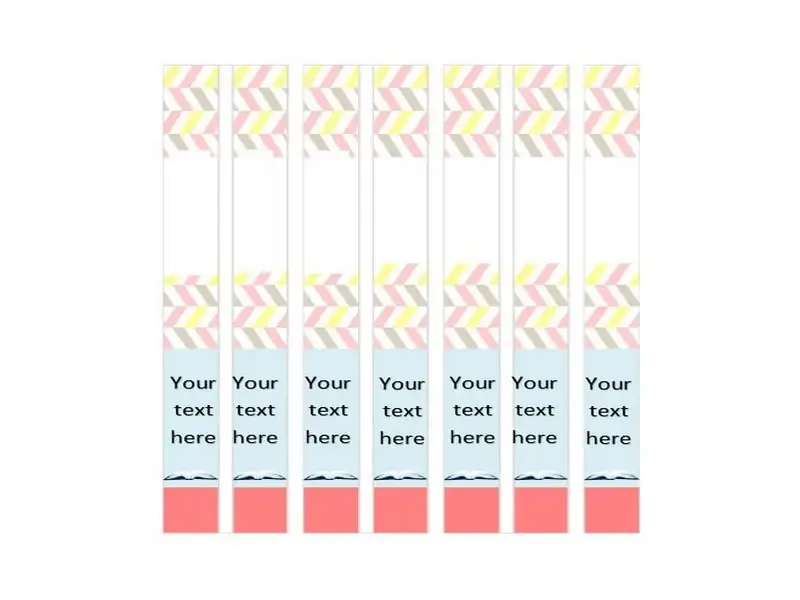
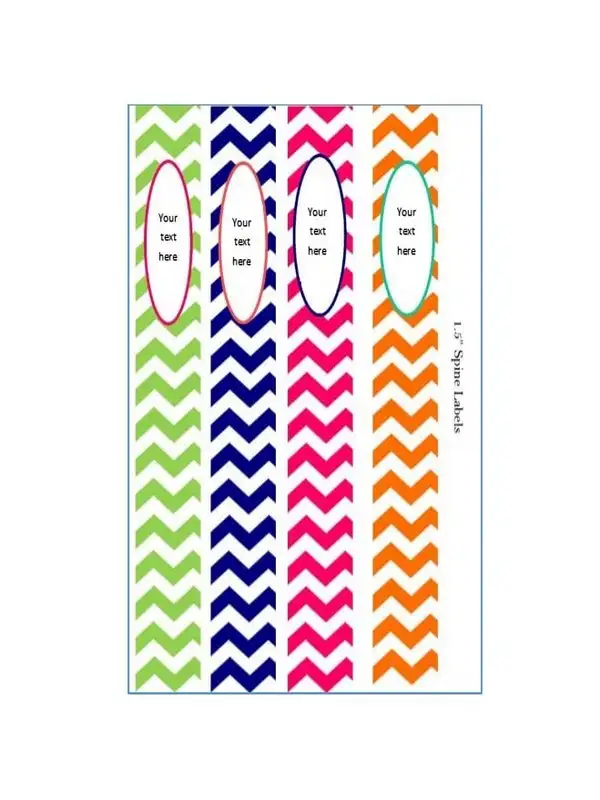
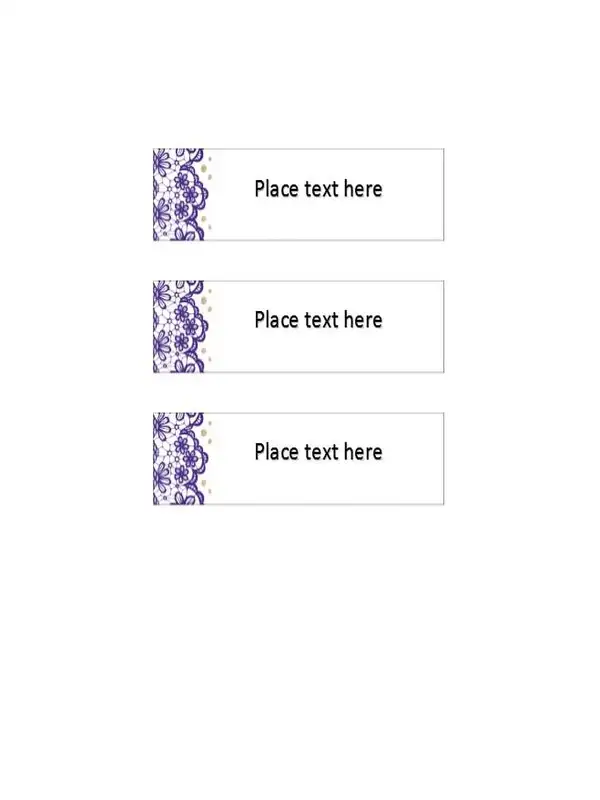
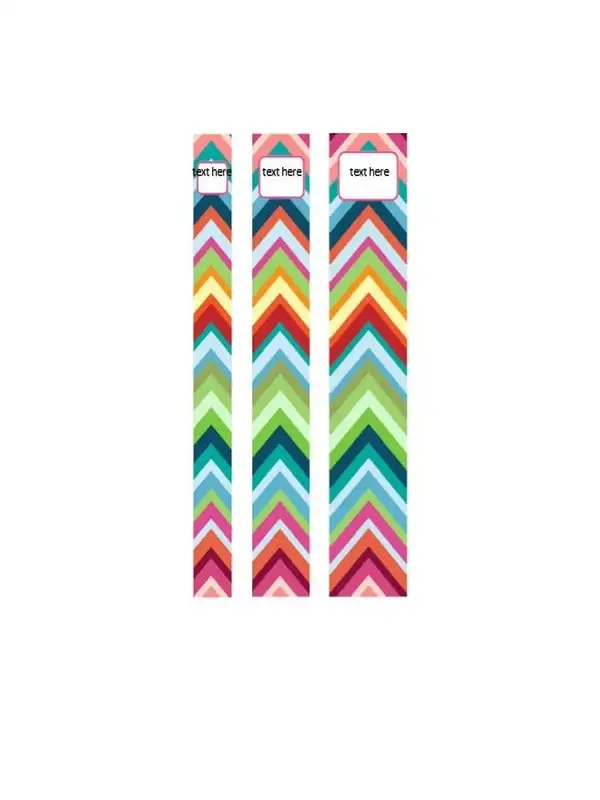
A binder spine label template is a design for labels that can be used to create spine labels for different binders. There are several types of these labels, and you might need to use more than one type, depending on your needs.
If you are creating a binder spine label template, you should take into account the following tips:
- Make sure that you have at least two colors in your design;
- Make sure that the font is clear and legible;
- Make sure that the text is large enough so it doesn’t get cut off by the binding edge;
- Make sure there is enough space between each text line; and finally,
- Add a barcode or QR code at the bottom of each design if needed.
How to Make a Binder Spine Label Template
When you are looking for spine labels for your binder, you will have a lot of labels to choose from. You can make one yourself using some spare time and an X-actor knife.
However, if you need more time or interest in making these yourself, you can use templates with pre-made designs that simplify the spine label process. You can even get these printed and driven by a printing company!
Binders are some of the most common office supplies out there. They are essential for keeping your important documents together and organized so they aren’t scattered over your desk or anywhere else in the office. It also helps keep you from having to type your papers constantly.

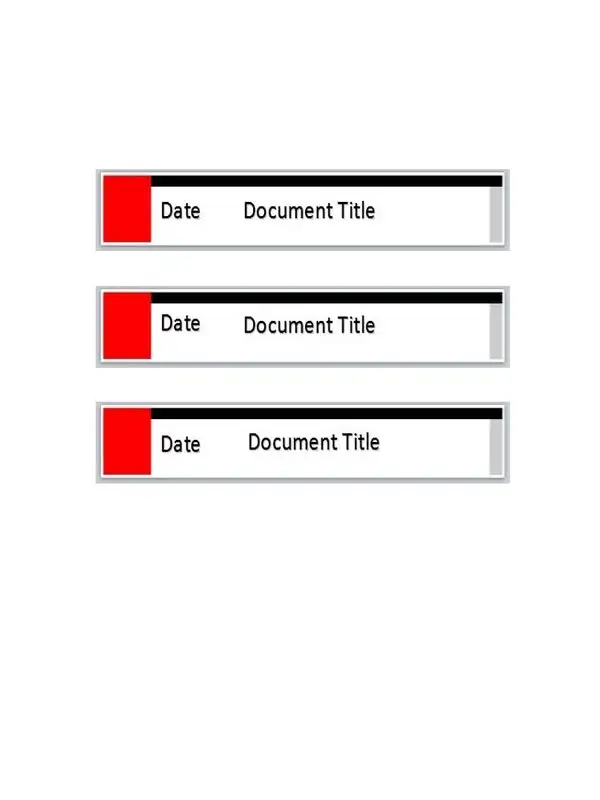
A binder spine label template is a common way of presenting information created in Microsoft Word. Binder spine labels can be printed on paper or put into an electronic database.
This tutorial is about creating a template for binder spine labels with Microsoft Word.
- Open Microsoft Word and press the Home button to see where you are.
- Right-click on the page and select “New Blank Document.”
- Create a header that says “Binder Spine Label Template” at the top of the new document
- Select “Page Layout” and change it to landscape to maximize space (optional)
- Select “Page Layout” again, go down to Page Numbering, and change it as follows: Turn this off, set every page to 1, set every section title, set Every Section Title (if there is one) back to Auto Number as well then click OK
What are the Best Brands to Use for Your Binder Spine Labels
Binder spine labels can be a fantastic way to brand your binder. However, choosing the best label type for your binder is essential. You want to avoid ending up with something that doesn’t match your branding or looks cheap.
Many people need to learn about using generic binders when needing a specific label. There are several factors you should consider before you buy a binder spine label pack:
- What are your binders made from? Is it plastic, metal, or wood?
- What is the size of the spine labels? Are they standard-sized, or do they come in custom sizes?
- How many spine labels do you need? Do you want one pack or several packs?
- How much do you want to spend on each pack?
What are the types of binder spine labels that exist?
Binder spine labels are essential for binding documents and folders, and they are used in some businesses to identify the type of information inside the binder spines.
There are different types of binder spine labels, such as:
- Binders and pockets that have labels on both ends
- Labels on both ends
- Labels on one end only
What are the leading binder spine label templates in the market?
In terms of spine label templates, the market is competitive. Many companies offer binder labels, but the most popular ones are Avery and 3M.
Avery is a well-known name in the industry, with an established reputation and a wide range of options for spine labels. Their products have been tested in many industries with great success, so it’s no wonder they’ve managed to maintain this position.
3M has also been around for a long time, with their products used by various organizations such as global brands like Whole Foods Market and Michelin. They’ve also launched a new line for 2019 called 3M TriaLia Lashings exclusively on Amazon.
Best Features Of The Best Brands of Binder Spines Labels
A binder spine label is a popular product for organizing and storing documents. It could be an essential document, such as a report, invoice, letter, or book.
The top 5 features of the best binder spine labels:
- The binder spine label has key slots to create an individualized ring binder from scratch.
- They are made from recycled materials and are made to last.
- They come in different colors and designs so you can personalize your documents accordingly.
- The labels have an adhesive lasting up to 3 months, so they can be reused when not used.
- The labels have wide openings on the front cover, so your documents slide nicely into the pocket on the front cover.
Conclusion
Once you’ve made a template for your binder spine labels, it’s time to make it actual-like. You should add some paper or use a different image.
You add a title or logo on the other side of the spine. Print it on contrasting color ink and write with a different pen to make that stand out. It’s all about making your binder labels unique and attractive!
A binder spine label template is a simple way to personalize binder spines. This template can be created by using a combination of text and images.
Put your company logo on the front cover of the spine label template and the front inside cover. Also, include images like a picture or photo of your company’s product or service on the spine label template to create a professional look.
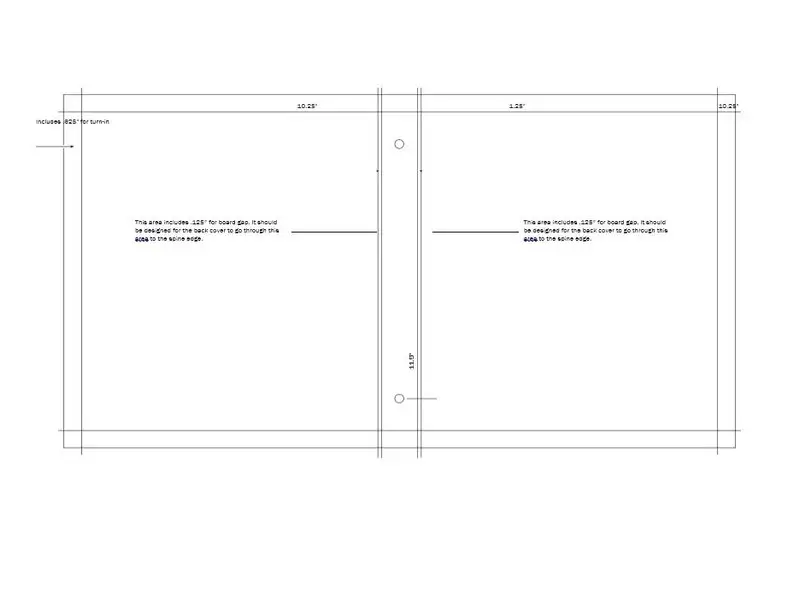
The spine label template is designed for binders with either plastic or cardboard covers and is formatted for letter-size paper with 1-inch margins at top and bottom, 1 inch left and right, and 2 inches from top to bottom.
A binder spine label template can help you quickly start your project, saving you time, money, and effort in the long run.
Binder spine label templates also make it easier to organize your documents and stay on top of deadlines. You will be fine with losing papers or forgetting important information your project requires.
A binder spine label template is created to provide an organized and uniform appearance and a cohesive design. With the help of this guide, one can learn how to create a professional-looking binder spine label template that offers branding opportunities. The requirements for creating such a project are minimal regarding skill sets, time, and effort.
One of the best features to consider when looking for a binder spine label is if it comes with a free, durable pen that can be refilled. This will help you avoid making mistakes because you’ll have an extra pen on hand if you make one mistake.
You should also consider what type of material the sleeve is made of, how easy it is to clean, and how sturdy or flexible it is.