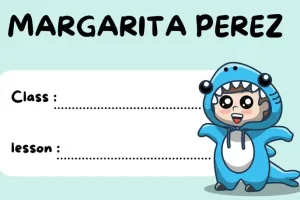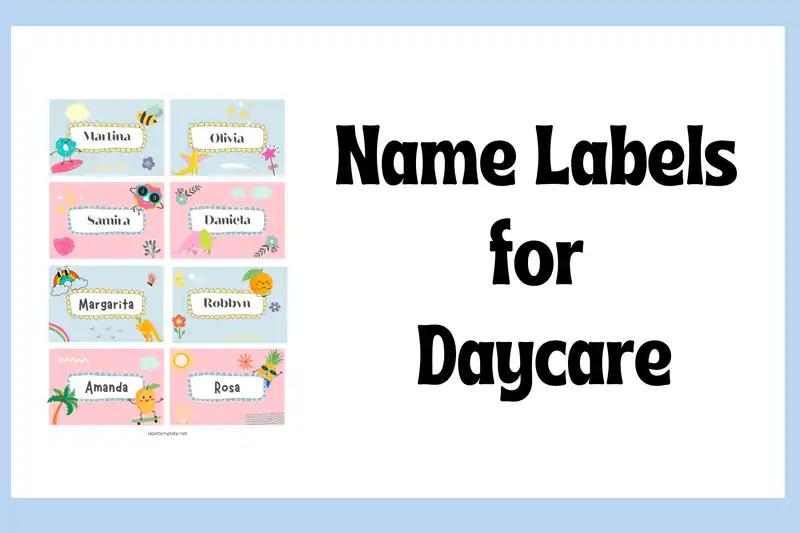
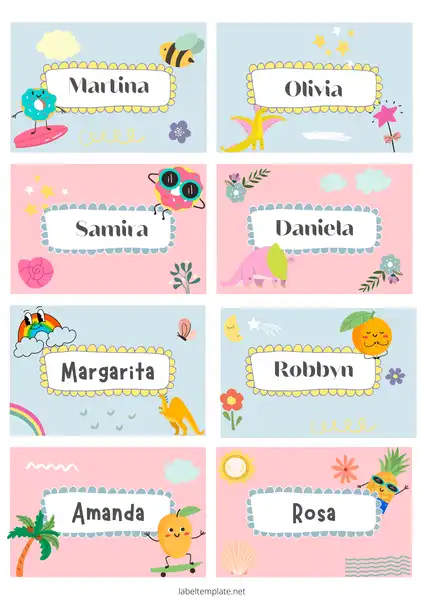
Name labels for daycare are used to identify children in daycare settings. They are usually placed outside clothing to avoid mix-ups and help caregivers recognize each child’s belongings.
Name labels can also be used for children who attend school and need to share their belongings with other students in the classroom.
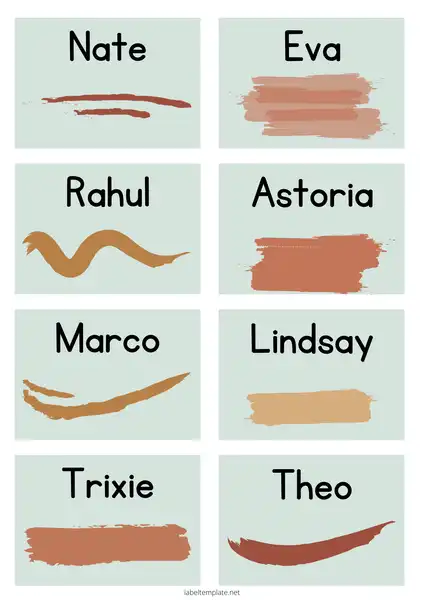
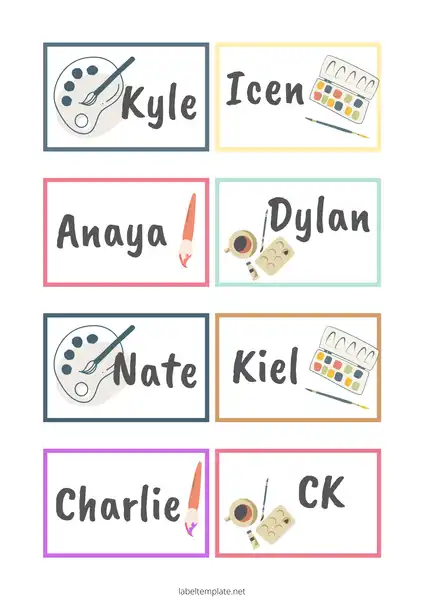
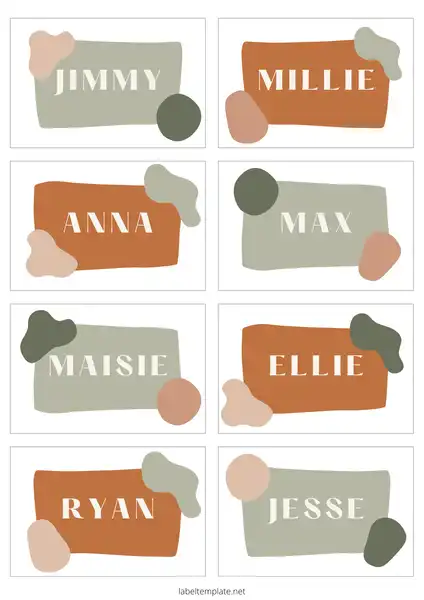
A name label is a small piece of paper, card, or sticker with a child’s name written. A name label can be placed outside clothing, a lunchbox, or other items.
Tips for creating name labels for daycare
There are many factors to consider when naming a daycare. For example, the name should be short and easy to pronounce. It also needs a good meaning that reflects the values of the business or organization.
- The first letter of each word in the name should be capitalized.
- The name should have at least 3 words in it.
- Avoid using names that sound like other popular names for daycares.
- Avoid using names that are too long or difficult to pronounce.
- Avoid using negative words in the name, such as “no” or “stop.”
What is the purpose of name labels for daycare?
The purpose of Name labels for daycare is to help identify children who may have wandered off or been separated from their parents. Name labels for daycare also help children learn their names and can help children with special needs better understand them.

What are the best material name labels for daycare?
Labels are an important part of daycare management. They help identify items and keep them organized. There are many different labels, but which material is best for daycare? Some people prefer paper labels because they are inexpensive and easy to use; however, they can get lost or damaged easily.
Plastic labels are a better option because they can withstand the wear and tear that comes with daycare management. Another great option is the self-adhesive vinyl labels. These labels have a more professional look than paper or plastic and can be written on with a permanent marker, making them more durable than other materials.
What are the benefits of using name labels for daycare?
They are some benefits of using name labels for daycare:
- The first benefit is that it can help children learn their names. This can happen if the child sees their name written on the label several times.
- The second benefit is that it can help parents identify which belongs to which child. This is especially beneficial for parents with more than one child in daycare.
- The third benefit is that it can make children feel special and important. This happens when a child gets to put his/her’s name on the label and wear it with pride.
- The fourth benefit is that it helps kids learn how to spell their names by using the label as a learning tool for writing letters and words.
- The fifth benefit of using labels for daycare is that they are easy to use, making them perfect for busy parents.
What are the disadvantages of using name labels for daycare?
It has been observed that when children are labeled with their names, they are more likely to be aware of themselves as individuals. They also start to develop a sense of independence and self-confidence. This is because the child learns the name and starts associating it with him or herself.
However, there are some disadvantages of using name labels for daycare. One disadvantage is that it can lead to a sense of entitlement in some children. This can happen if the child thinks they deserve special treatment because they have their label. It is also possible for children to feel isolated if they do not know their names and other children who might be named after popular characters or celebrities.
What are some of the best practices for using name labels in daycare?
The best practices for using name labels in daycare are as follows:
- Label the clothing with the child’s name and size.
- Label all items with the child’s name and date.
- Create a list of emergency phone numbers (parents, grandparents, babysitters) and keep it nearby.
- Please take photos of the children regularly to help identify them in case they are lost or separated from their parents.
The best way to make sure that children don’t lose their name tags is to attach their name tags to their shirts. The other option is to attach the name tag on a lanyard and put it around their neck.
What are some of the most popular suppliers of Name labels for daycare ?
There are many suppliers of Name labels for daycare centers. Some popular suppliers include Avery, Crayola, and Mabel’s Labels.3
Read Also: Name Label Stickers for School
How to make name labels for daycare
To make name labels for daycare, you must follow these steps:
- Gather the materials needed for this project. You will need a piece of paper, a pencil, and a ruler.
- Draw out the shape of the label on the paper with the pencil, and then use your ruler to measure it out evenly. 3. Write your child’s name on one side of the label and their age on the other in numbers or words so that you know what year they are in school when they graduate from kindergarten or preschool.
- Cut around your drawn shape with scissors or an x-acto knife, making sure not to cut through any writing that is inside of it. 5. Fold your label in half and staple it together.
- Cut a 2-inch strip from the bottom of the paper and another 2-inch strip from the top so that you have two strips with a 3-inch section in between.
- Fold each of these strips in half, making sure they are smaller than your label shape (this will help them stay attached to the shape).
- Fold the smaller strip on one side of your label in half and then again a second time.
- Take your larger strip and fold it in half, making sure that it is smaller than your label shape (this will help them to stay attached to the shape).
- Take this small strip and fold it in half a second time.
- Take your larger strip and fold it in half for the third time, but this time make sure that the top is wider than the bottom.
- Take one of the strips with a 3-inch section in between and put it over your final shape with this section below your shape on one side of the label, and then take the strip with a 2-inch section in between and put it over your final shape with the section below your shape on the other side of the label.
- Take one of the strips with a 1½-inch section in between and put it over your final shape with this section above your shape on one side of the label, and then take the strip with a 1-inch section in between and put it over your final shape with the section above your shape on the other side of the label.
- Take one of the strips with a ¾-inch section in between and put it over your final shape with this section below your shape on one side of the label, and then take the strip with a ½-inch section in between and put it over your final shape with the section below your shape on the other side of the label.
- Take one of the strips with a ⅝-inch section in between and put it over your final shape with this section above your shape on one side of the label, and then take the strip with a ½-inch section in between and put it over your final shape with the section above your shape on the other side of the label.
This process creates a series of shapes along one edge and then a series along the other.
- Using something that is not too sharp, such as a pair of scissors or a knife, cut around your final shape to separate the shapes from each other and create your shape.
- Cut a strip the width of your final shape and put it over the top of the shape, overlapping each side with the other. Draw an arrow pointing to where you want to place your first full circle, cutting away from it when you are done.
- Fold over this new strip and draw another arrow pointing in the opposite direction for your second full circle, again cutting away from it when you are done.
- Cut out the new strips of cloth and iron them flat on your ironing board to create your first two layers.