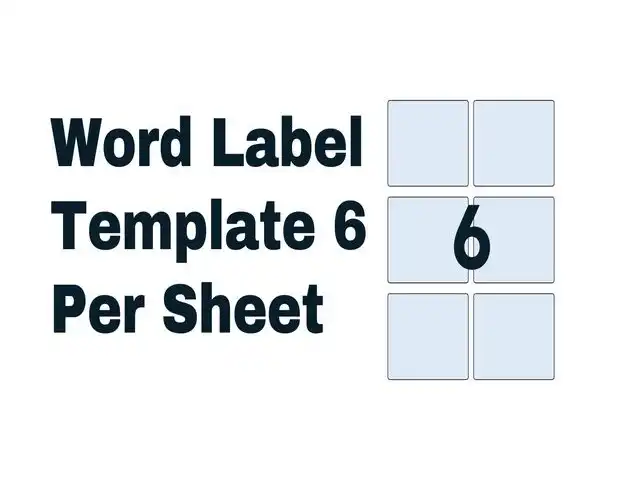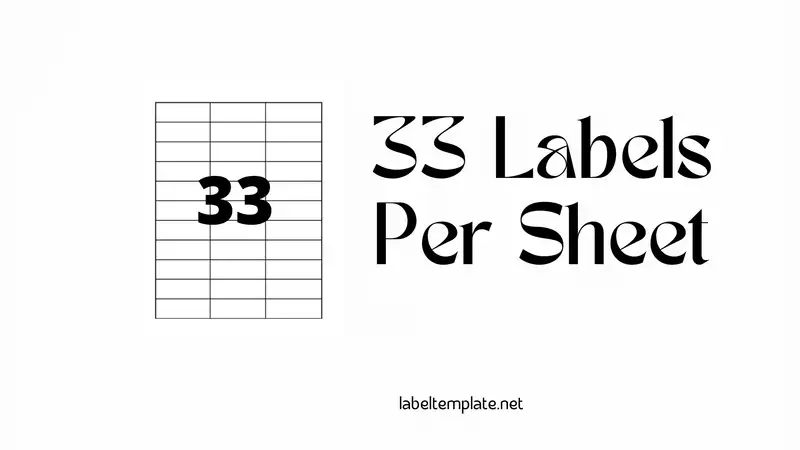
The 33 labels per sheet template is a design for making a large number of labels at once. This can be useful for filing and organizing.
The template is also helpful for making large numbers of labels in bulk, which can then be used to label different types of products or other materials.
What are the 33 labels per sheet template?
The 33 labels per sheet template is a design that allows you to make a lot of labels at once with just one sheet of paper. This design can be helpful when it comes to labeling items or organizing them in bulk.


The benefits of using 33 labels per sheet template
Here is the benefits of using 33 labels per sheet template.
- It saves time33 labels per sheet and eliminates the need to spend money on buying extra sheets at one go. If you are a freelance writer, you may be very busy, so this will save you time.
- You can print many labels without emptying your wallet. If you commonly use a template, you will not need to purchase extra sheets.
- It gives the freedom to design and write your creative designs.
What is the size of a 33 Labels Per Sheet template?
It’s a big paper with 33 small sticky labels on it. You can print things like addresses or use them to keep your stuff organized.
How Big is It?
- Whole Paper Size: It’s just like a normal paper you use for writing. It measures 8.5 inches by 11 inches.
- Each Small Label: They are smaller pieces on the big paper. There are 33 of them fitted on one sheet.
Things to Remember:
- Different Brands, Different Sizes: Not all label sheets are the same size. Check the label pack to know the exact size.
- Will It Fit?: Make sure the label size is right for what you need. And check if it works with your computer program for making labels.
- Where to Use Them: They are great for sending letters, keeping your papers tidy, or putting names on things in the office.
- Finding the Right Template: Use a computer program that has the right size for these labels. Choose the one that says “33 labels on a sheet”.
- Make It Your Own: You can change how each label looks. Add pictures or change the text to make it just right for you.
- Test Before You Print: First, print on a regular paper to see if everything looks good. Then, print on the label sheet.
Tips for using 33 labels per sheet template
For those who are not familiar with the 33 labels per sheet template, it is a template that has 10 rows and 3 columns. Content writers commonly use this to write headlines for articles.
The following are some of the tips to help you use this template effectively:
- Organize Your Design Elements:
- Front and Back Labels: The first two labels on your sheet should represent the front and back of the shirt. This helps in visualizing the main design areas.
- Sleeve Labels: Labels three and four can be dedicated to the left and right sleeves, respectively.
- Include Size Charts:
- Utilize the next two labels for size charts. This is particularly useful if you’re designing t-shirts that will come in different sizes.
- Printing Instructions:
- Since colors play a crucial role in design, include a label that states, “Please print this template on a color printer.” This ensures that anyone using the template understands the importance of color accuracy in the final product.
- Duplicate Important Instructions:
- It’s a good idea to repeat critical instructions like the printing directive.
- Number Each Size:
- For ease of identification, assign a number to each garment size. This can be done in the remaining labels.
- Utilize All Labels:
- Make sure to utilize each label on the sheet. This maximizes the template’s potential and ensures that all necessary information is included.
- Keep Designs Consistent:
- Ensure consistency in your designs across different sizes. Adjustments for size should not compromise the overall look and feel of your design.
- Test Print:
- Before final printing, do a test print on a regular paper to check for alignment and design accuracy.
- Save Your Template:
- After setting up your design, save the template for future use.
Common Mistakes When And How to Avoid
Here’s a look at some of these mistakes and how to avoid them:
- Incorrect Alignment:
- Mistake: Not aligning the text or images correctly, resulting in printing errors.
- How to Avoid: Always print a test page on regular paper to check the alignment before printing on label paper.
- Ignoring Printer Settings:
- Mistake: Not adjusting printer settings to match the label sheet size.
- How to Avoid: Check and modify the printer settings to match the exact dimensions of your label sheet.
- Overcrowding the Labels:
- Mistake: Trying to fit too much information or design into one label.
- How to Avoid: Keep the design and text concise. Ensure there’s enough white space for readability.
- Using Low-Resolution Images:
- Mistake: Incorporating images that are of low quality, resulting in pixelated prints.
- How to Avoid: Use high-resolution images and check their quality in a print preview.
- Not Saving the Template:
- Mistake: Forgetting to save your custom template for future use.
- How to Avoid: Always save your work. This saves time when you need to print labels again.
- Inaccurate Size Chart Information:
- Mistake: Providing incorrect or unclear size chart information on labels.
- How to Avoid: Double-check all information for accuracy and clarity before printing.
- Ignoring Label Margins:
- Mistake: Not considering the margins of the labels, leading to text or images being cut off.
- How to Avoid: Be mindful of the label margins and ensure all content is comfortably within these boundaries.
- Not Customizing for Different Sizes:
- Mistake: Using the same label design for all sizes without adjustments.
- How to Avoid: Customize the design for different sizes, if necessary, to ensure consistency in appearance.
- Neglecting to Proofread:
- Mistake: Having typos or grammatical errors on the labels.
- How to Avoid: Always proofread your labels before printing. It’s helpful to have someone else review it as well.
How do you create 33 labels per sheet template in Microsoft Word?
A 33 labels per sheet template is a Word document with 33 labels on the first page. It is used when you want to create a document with many different types of headings, such as an essay or a report.
Read Also: 48 Labels Per Sheet Template Word Free
You can create 33 labels per sheet template in Microsoft Word by using the following steps:
- Make a new document in Microsoft Word.
- Click on the Insert tab, then click on Label and Numbering Tools.
- Click on the Numbers tab and Customize Numbering System.
- In the Numbering system drop-down menu, select 33 Labels Per Sheet and click OK to apply changes to your document.
How do you print 33 labels per sheet template in Word?
To print 33 labels per sheet template in Word, you must create a document exactly 33 pages long. Then, go to the File tab and click the Print command. On the next screen, click on “More Options.”
In this window, make sure that you select “Custom Size” from the size drop-down menu and then enter “1” for the number of labels per page.
Next, click on “OK” and then go back to your document by clicking on the File tab again and clicking Close Document. Now you’re ready to print your document!