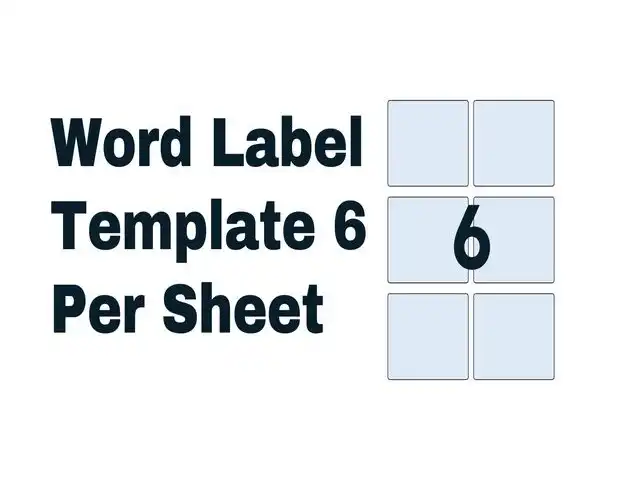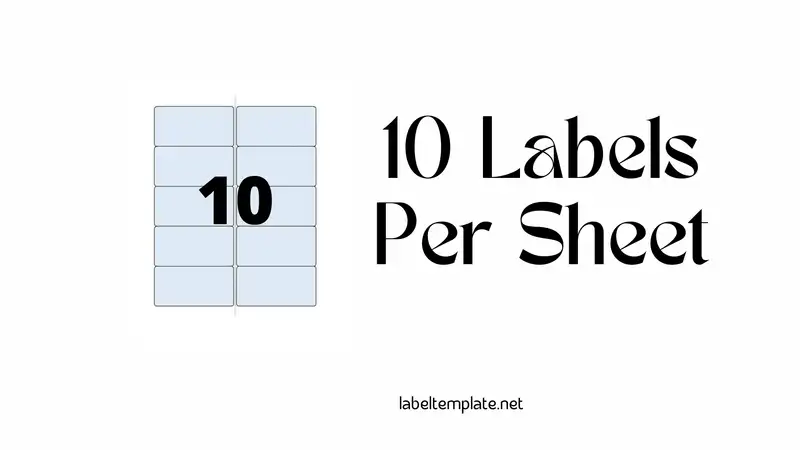
10 labels per sheet template word is a word document that provides users with 10 labels per page. You get 10 labels per word template. You choose the style and size of the labels.
This is a 10-label per sheet template Microsoft word document that you can use to write your labels.
Microsoft Word is a very important tool for any writer. It has many features make it easy for writers to create and edit documents such as tables, images, and charts.
It also has many templates for different types of writing, including labels, resumes, letters, and essays. Microsoft Word has templates for you to choose from to make the process of creating your label template even easier.
This document contains 10 labels per sheet, making it easy to create labels quickly without worrying about measuring the label size or ensuring enough space between labels.
What are the benefits of using It?
the benefits of using 10 labels per sheet template word are:
So Easy to Use
- Friendly for Everyone: Whether you’re a kid or a grown-up, using this template is simple.
- Looks Super Professional: Your labels come out looking sharp and neat.
Print Lots at Once
- Many Labels, One Go: You can print 10 labels all at the same time.
- Saves Paper, Saves Time: Because you’re printing a bunch together, you use less paper and spend less time.
Designed to Save Time
- Speedy Setup: Setting up your labels in the template is quick.
- Print in a Flash: Once you hit ‘print’, you’ll have 10 labels ready in no time.
Using the 10 labels per sheet template means you get things done faster.
What are the key features of a 10 label per sheet template?
A 10 labels per sheet template is a type of document that contains 10 labels for each sheet. It is often used in business, where you have to print many documents and labels.
The key features of this template are as follows:
Saves You Time
- No More Repeat Work: You don’t have to write the same thing again and again. It’s like having a robot do the boring stuff for you.
- Quick as a Flash: Just type once, and you get 10 labels ready. It’s way faster than writing each label by hand.
Keeps Everything Neat and Tidy
- Super Organized: All your labels are in one place.
- Easy to Find Stuff: When your labels are clear and organized, finding what you need is a breeze.
Helps You Do More, Better
- Less Mistakes: When you type and print, there are fewer mistakes than when writing by hand.
- More Focus: With less time spent on making labels, you can do other important stuff.
10 Labels Per Sheet Template Word
Microsoft Word is for more than just typing words. Word has a bunch of templates, not just for labels. Need to write a letter? Make a resume? There’s a template for that. It’s like having a different outfit for every occasion. Using the 10 labels per sheet template in Word is a great way to keep your things organized and looking good.


Why would someone choose to use a 10 labels per sheet template?
Let’s find out why it’s so great, especially for companies:
Customization for Companies
- Make It Yours: Companies love to make things look special. With this template, they can make labels that match their style.
- Add Your Touch: You can put your company’s logo, colors, or anything you want on these labels.
Keeping Your Brand Looking the Same
- Consistent Style: When all your labels look the same, it helps people recognize your company.
- Building Your Brand: Using the same design on all your labels makes your brand stronger.
Clear and Easy to Understand
- Less is More: With 10 labels on each sheet, you don’t need a lot of words to make your point.
- Straight to the Point: Fewer words mean your labels won’t be crowded.
Choosing a 10 labels per sheet template is smart for companies.
Read Also This Post: 8 Labels per Sheet Template Word Free
Common Mistakes and How to Avoid Them
Here is some of these mistakes and how to avoid them:
- Printing Without Checking
- Mistake: Sometimes we might print our labels without looking them over first.
- How to Avoid: Always check your labels on the screen before printing.
- Misaligning the Labels
- Mistake: If the labels don’t line up right in the printer, they can print out crooked or off-center.
- How to Avoid: Do a test print on a regular piece of paper first.
- Choosing the Wrong Printer Settings
- Mistake: Using the wrong settings on your printer can mess up how the labels print.
- How to Avoid: Double-check your printer settings. Make sure they match the type of labels you’re using.
- Using the Wrong Label Template
- Mistake: Sometimes we might accidentally use a template that doesn’t fit our labels.
- How to Avoid: Double-check that the template you’re using is the right one for your label sheets.
- Not Saving Your Work
- Mistake: Forgetting to save your label design can mean losing all your hard work.
- How to Avoid: Save your work often, especially after you make changes.
- Ignoring Printer Ink Levels
- Mistake: Running out of ink in the middle of printing can lead to half-printed labels.
- How to Avoid: Check your printer’s ink levels before you start printing.
By watching out for these common mistakes and following these tips
How do you create 10 labels per sheet template in Microsoft Word?
Making a template for 10 labels on one sheet in Microsoft Word is fun and simple. Here’s how you can do it step by step:
Step 1: Open Microsoft Word
- Start the Program: Click on the Microsoft Word icon on your computer.
Step 2: Go to Mailings
- Find the Right Place: Once Word is open, click on the ‘Mailings’ tab at the top.
Step 3: Choose Labels
- Select ‘Labels’: In the ‘Mailings’ menu, click on ‘Labels’.
Step 4: Click on Options
- Find More Choices: In the ‘Labels’ window, click on ‘Options’. Here you can choose what kind of labels you want to make.
Step 5: Select Label Vendor
- Pick the Label Brand: Look for the section that says ‘Label vendors’ and choose the brand of labels you’re using, like Avery US Letter, for example.
Step 6: Choose the Product Number
- Find Your Label Type: Now, find the product number that matches your 10 labels per sheet. If you’re not sure, you can look at the label package you have.
Step 7: Create Your Template
- Start Designing: After selecting the right label type, click ‘OK’. Now you’re ready to start creating your labels.
- Add Text or Images: You can type words or add pictures to each label.
Step 8: Save Your Template
- Don’t Lose Your Work: After you’re done designing, save your template. Click on ‘File’, then ‘Save As’, and choose where to save it.
Step 9: Print a Test Page
- Check Before Printing Lots: Before you print on your label sheet, try printing on a regular paper to see if everything looks right.
Step 10: Print Your Labels
- The Final Step: If your test page looks good, put your label sheet in the printer and print your labels.
Creating your own 10 labels per sheet in Microsoft Word is a great way to make sure everything is labeled just the way you like.
How do you print it?
Easy Steps to Print Labels with the 10 Labels Per Sheet Template
Here’s a step-by-step guide:
Step 1: Open Your Template in Microsoft Word
- Getting Started: Open the 10 labels per sheet template you created or downloaded in Microsoft Word.
Step 2: Check Your Label Design
- Review Your Work: Look over your labels on the screen. Make sure everything looks good, like your text and any pictures you added.
- Make Changes if Needed: If you need to change something, do it now.
Step 3: Prepare Your Printer
- Ready the Printer: Make sure your printer is turned on and has enough ink or toner.
- Load Label Sheets: Put your label sheets in the printer. Make sure they’re facing the right way.
Step 4: Print a Test Page
- First Try on Regular Paper: Before you print on your label sheets, print a test page on regular paper. This helps you see if everything is printing correctly.
- Check Alignment: Hold the test print up to a label sheet to see if the alignment is right.
Step 5: Print Your Labels
- Start Printing: If your test page looks good, go back to your computer and click ‘Print’.
- Select the Right Printer: Make sure you choose the printer you want to use.
- Print Settings: Double-check that your print settings match the label sheet.
Step 6: Collect Your Printed Labels
- Finished Product: After printing, carefully take your labels out of the printer.
- Let Them Dry: Give them a little time to dry so the ink doesn’t smudge.
Step 7: Save Your Work
- Save for Future Use: Don’t forget to save your template again if you made any changes.
Printing your labels with the 10 labels per sheet template is easy once you get the hang of it.